Children benefit from learning through all their senses and through all learning styles. Visual, eyes-only methods leave out so much of what a child uses to learn: the small muscles of fingers and hands, the big muscles of legs and arms, hearing, smelling, tasting, and so on. By removing eyes from the learning process, even for a few moments, we can actually enhance our students’ learning abilities. Tactile (touching) methods provide many more details to the brain than can be taken in through eyes alone, something which is especially vital for those who have trouble learning or remembering things that have only been seen.
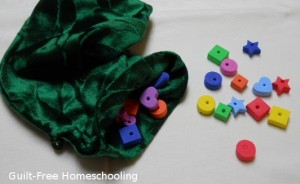
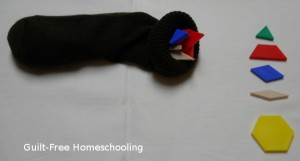
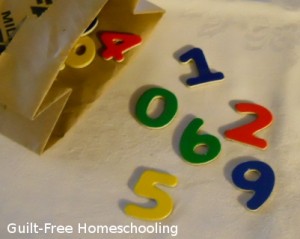
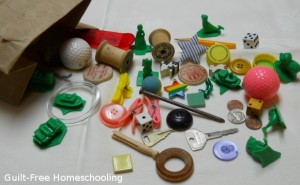
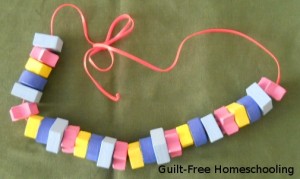
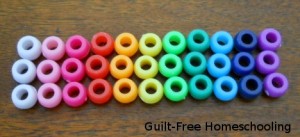
Take one drawstring bag, paper sack, wine gift bag, cloth shopping bag, pillow case, clean sock (all stretched out works best), etc. Dump in pattern blocks, foam beads, letter shapes, number shapes, or random objects. Challenge your students to reach into the bag, feel around, and find a certain shape or object. No peeking allowed, just feeling shapes with fingers to find the right one. It’s a good idea to begin with just a few objects in the bag and work up to more. Also, use only one type of items at a time, unless your kids are prepared for a really big challenge!
Tactile learners will do really well with this type of activity — their fingers are already well acquainted with gathering information, and their minds are already used to forming a mental picture from that tactile information. NON-tactile learners will benefit tremendously from these activities and expand their ability to learn from touching, which is why it’s good to start small and let them get accustomed to identifying shapes with just their fingers. Turning this activity into a game will help expand those tactile skills in a very fun way.
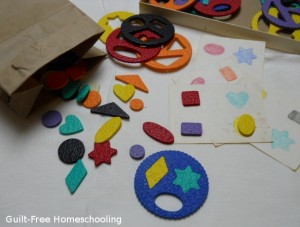
When my kids were preschool age, we had a Lauri Fit-a-Space puzzle set. They loved to pop the shapes out of the circular bases (Lauri calls them “faces,” but my kids called them “pizzas”) and put all the loose shapes into a paper sack. Then they would feel around in the sack to find the correct shape to fit into their chosen base. I also made very simple bingo-type cards by tracing around a few shapes on each card and coloring them in with crayons to match the pieces. My preschoolers got shape and color matching practice in a fun, self-testing activity, trying to find just the right square or heart or oval to go on the cards. (I let them search through a pile of pieces on the table for the color matching.)
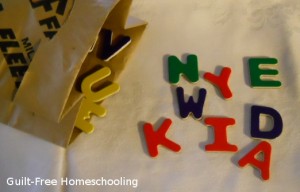
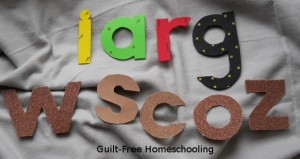
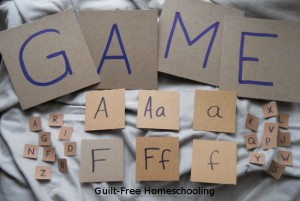
A child who is having difficulty learning letter shapes or one who reverses letters can benefit from tactile identification activities. Frequently, a child who mixes up the visual appearance of certain letters is more of a tactile learner, so giving them touchy-feely activities with those letters will help their brains sort out the information and clear up their confusion. For example, let’s use 3-dimensional letters, such as the magnetic letters that live on refrigerator doors and put a single letter into a paper sack (not letting the child see which letter it is), and let the child reach inside and feel the letter’s shape with one or both hands (use a pillow case for ease of getting both hands inside). Now let’s ask this child to find the matching letter on an alphabet chart. I recommend using upper case letters only at this point — fewer opportunities for reversals, and much less confusion over shapes. Consider tracing around each letter to make your own alphabet chart, especially if another chart would vary slightly in the shapes of the letters you have. (Differences to look for: some R’s have an angled “leg,” and others have a straighter leg; some M’s have vertical legs, and others have angled legs; some M’s have an inner “V” that extends to the base line, others have a shorter “v” that only comes down halfway.) Let the child lay the letter shape on top of its matching letter on the chart, and then you can drop another mystery letter into the sack — lather, rinse, repeat. Advanced students can start with all the letters in the sack at once and pull out each one as it is identified. Very advanced students can search through the entire contents of the sack with their fingers to see if they can find specific letters as needed.
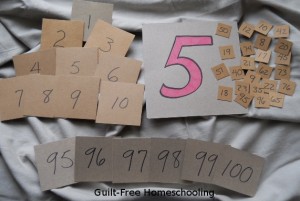
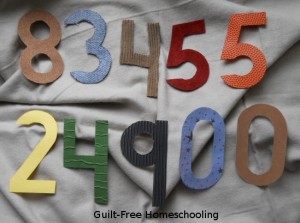
When your student has mastered upper case letter shapes, he will probably be ready to tackle lower case letters, even with their look-alike b’s, d’s, p’s, and q’s (not to mention the n’s and u’s that can also feel alike). This activity can be varied again by using number shapes, giving your student the opportunity to notice that 6’s and 9’s can often look and feel very much alike. Ditto for 2’s and 5’s, and sometimes 1’s and 7’s.
Whether the bag contains letters, numbers, geometric pattern blocks, geometric-shaped beads, or random objects, students of all ages can test their own tactile skills by feeling a piece, making a guess at what it is, and then pulling it out of the bag to check. Students with highly developed tactile skills may want to try identifying the letters carved into Scrabble tiles or the number of dots impressed into dominoes, but those activities will be much too difficult for the beginner!
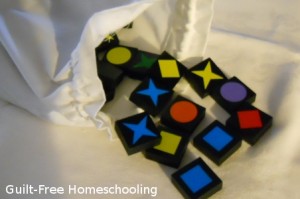
A sack or bag can also add convenience to any games that use tiles or similar pieces. For years, we have kept a paper sack in our Scrabble game, to use instead of a “draw pile.” It takes up much less room on the table, passes easily around to each player, and flattens out fairly well to go back in the box for storage, even with the tiles still inside it. We have a designated cloth bag for our dominoes draw pile, and our Qwirkle game came with its own drawstring bag to draw from — game makers are catching on!
It should be our goal as parents and educators to teach our children how to learn in every possible situation, using every skill they possess. By starting with these simple tactile activities, we can improve skills they already have, provide them with new skills, and open up new realms of knowledge to feed their curiosity. And they may also be able to find their keys in the dark someday.
See also:






 Guilt-Free Homeschooling is the creation of Carolyn Morrison and her daughter, Jennifer Leonhard. After serious disappointments with public school, Carolyn spent the next 11 years homeschooling her two children, from elementary to high school graduation and college admission. Refusing to force new homeschooling families to re-invent the wheel, Carolyn and Jennifer now share their encouragement, support, tips, and tricks, filling their blog with "all the answers we were looking for as a new-to-homeschooling family" and making this website a valuable resource for parents, not just a daily journal. Guilt-Free Homeschooling -- Equipping Parents for Homeschooling Success!

Recent Comments